How to Microgreen Growing at Home
You need more space to garden or care for houseplants in your home. I plan to try some simple things to save time and effort and add greenery to your home. Then, you can grow microgreens. Microgreens growing at home will get you thinking about plant seeds. Home-grown microgreens provide several times more nutrients than those from a superstore. They are also so easy to grow that even the little ones in your home can succeed. Microgreens: You can try this in a small part of your house, including your south window, kitchen, and living room. You don’t have to worry about space; you can harvest in a few days.
Microgreen production is so easy; its production method is called the Super Easy Process. You can microgreen growing at home without wasting precious time. They provide nutrition several times better than buying them from your superstore and save you money.
We’ve broken down how to grow microgreens at home using this recipe. Take time to read.
What are Microgreens?
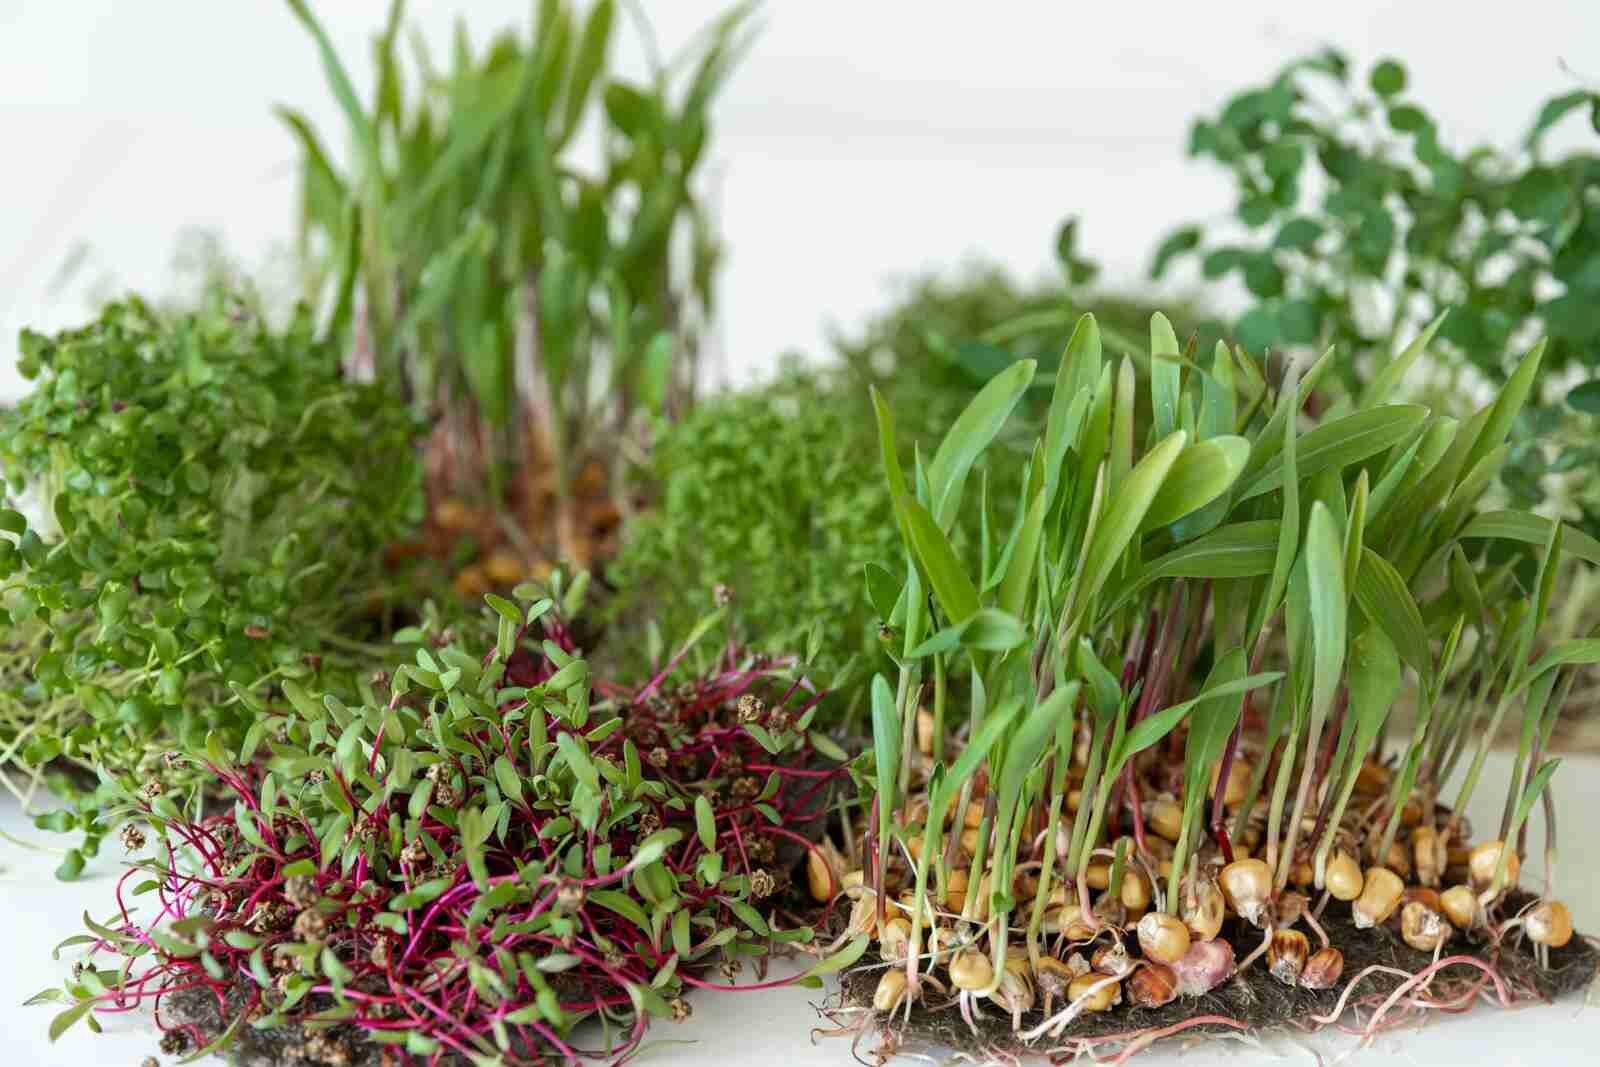
Microgreens are the first stage of seedling production from seeds. They are 7-14 days old and 1-3 inches in size. Microgreens are harvested when the first set of leaves emerges. Micro-greening is picking up too many baby seedlings in a small area while they are still small.
Many people call microgreens micro herbs or plant confetti.
How healthy are Microgreens for Our Bodies?
Green vegetables are beneficial for our health. The fresh green leaves of microgreens are very beneficial. Green-dense baby sprouts contain more nutrients than larger vegetables.
Research has found that green-dense baby seedlings can have 7-9 times more nutrients than larger-sized seedlings. They provide a large amount of vitamins and carbohydrates without any side effects on the human body. In addition, studies have shown that eating microgreens reduces the risk of many diseases, but it is not clear whether this will actually happen.
After intensive observation of microgreens, we identified 10 diseases, which are listed below.
Are microgreens harmful?
Microgreens are completely organically grown at home and do not use any chemicals. They are considered healthier than sprouts, which are eaten with shoots and seeds. The green young leaves of microgreens can be eaten young without any risk.
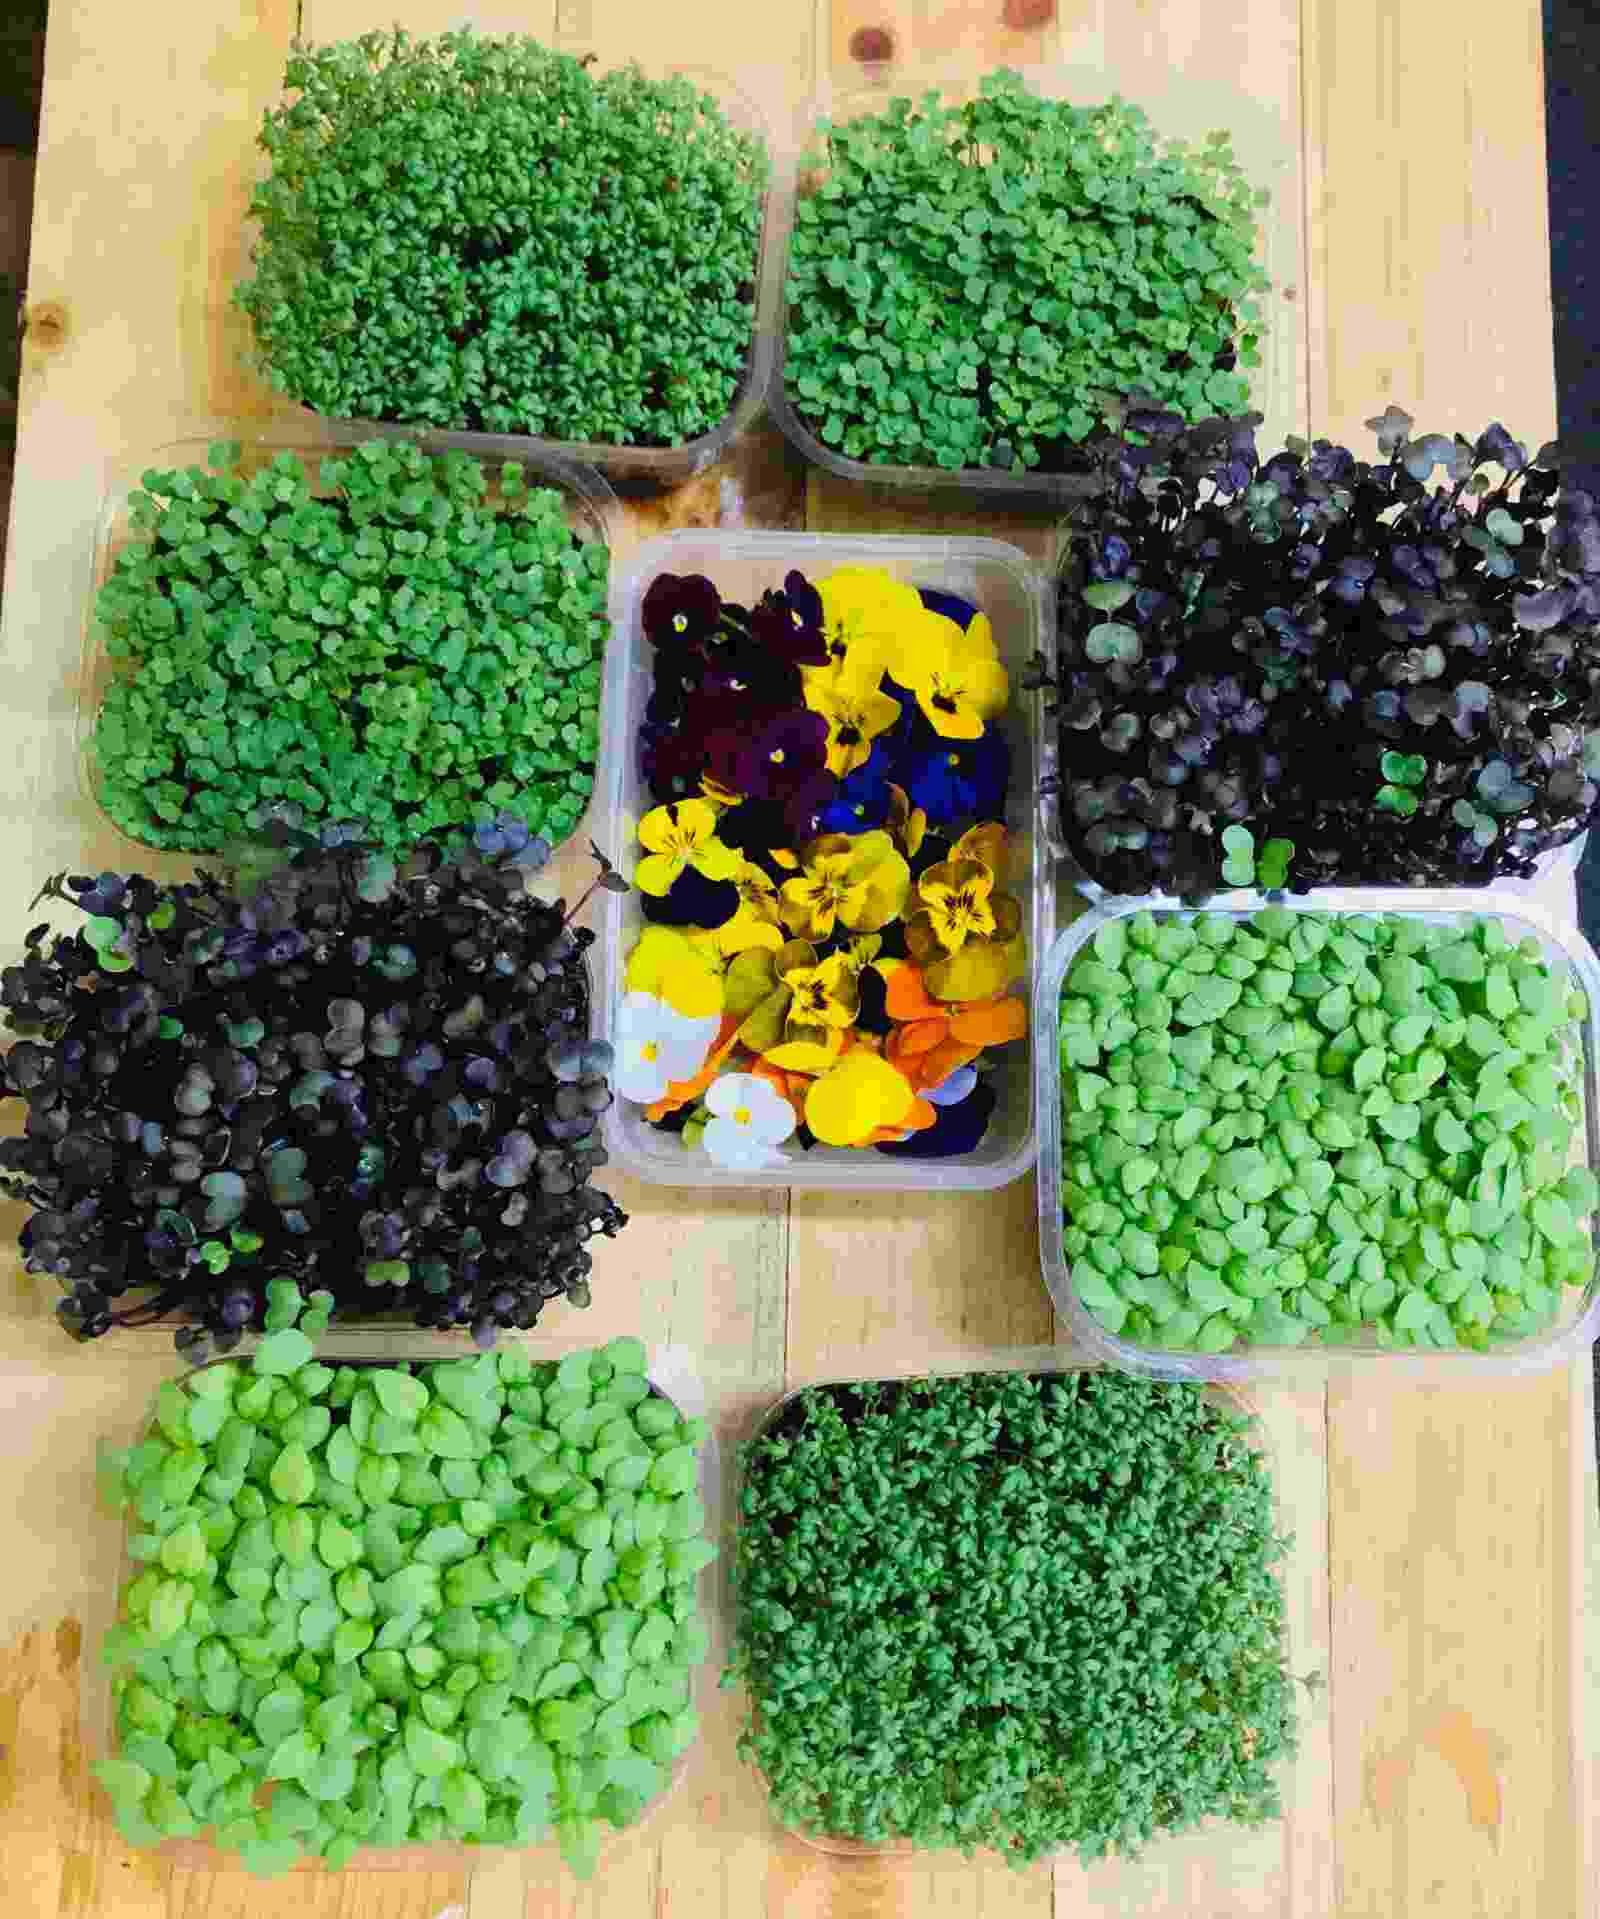
Any plant can produce microgreens. Like:
- Radish
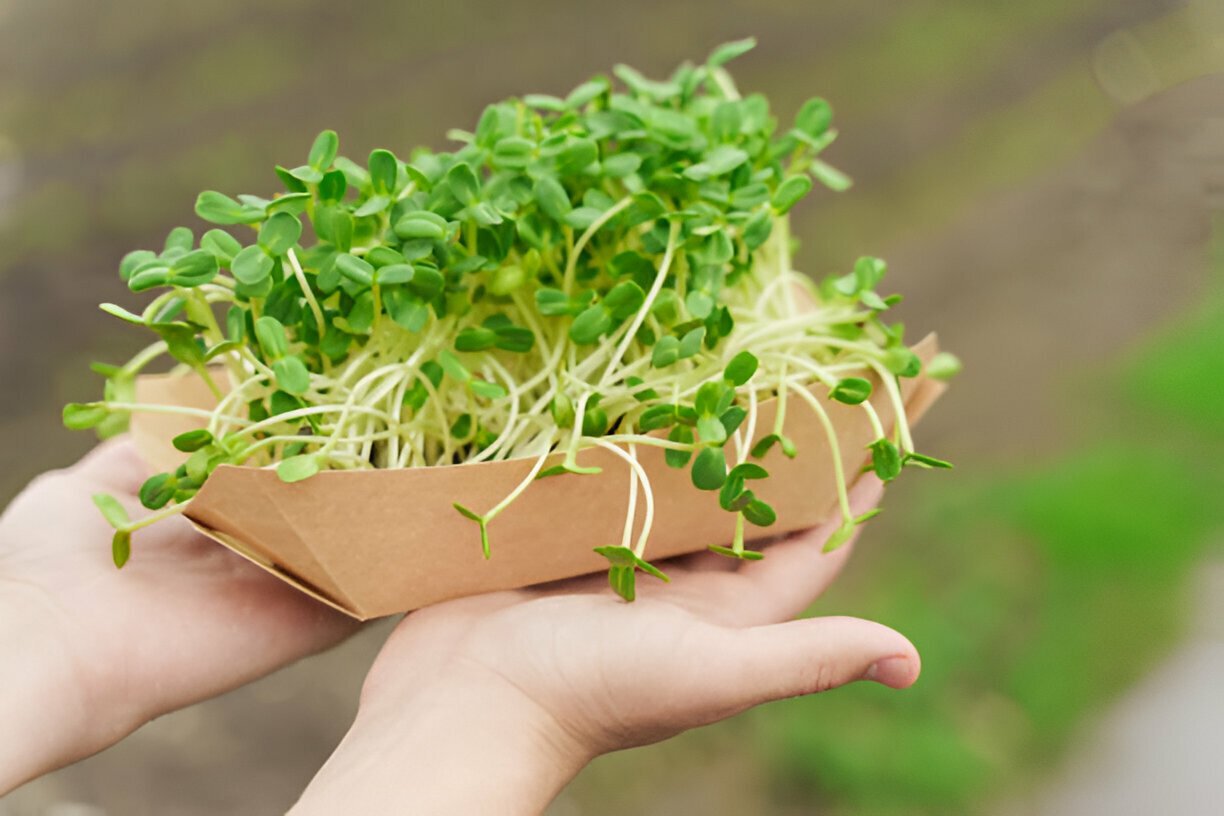
- Sunflower
- Pea shoots
- Broccoli
- Arugula
- Kale
- Beetroot
- Cilantro (Coriander)
- Mustard
- Basil
You can growing microgreens and many other vegetables at home. You can grow microgreens in straightforward and straightforward ways to meet your needs at home.
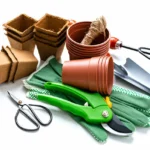
We can wear whatever we need to grow microgreens at home.
- Container/Plastic Pot/Seed Germination
- Tray/Microgreens Tray
- High-Quality Soil/ Perlite/ Coco Peat/ Vermiculite
- Seeds
- Growing lights (if needed)
- Caesar
- Water sprayer/ water can
Potting Mix
To grow microgreens, you need to choose a high-quality medium, which you can make yourself. To grow microgreens, we need to prepare a medium that holds water and keeps it moist. We can pick up high-quality mediums from nursery stores or online from Amazon.
I recommend some high-quality complete seedling starting mediums.
- Miracle-Gro
- Espoma Organic Seed Starter
- Sungro Black Gold
- Succeed Seed Starter
To grow microgreens at home, you can use any medium, such as coco peat, perlite, or vermiculite. You will get these for an average of 8-15 dollars. To grow microgreens at home, you can use any medium, such as coco peat, perlite, or vermiculite.
Place for growing
You can grow microgreens in backyard beds or inside your home. You can place trays of microgreens anywhere indoors. You can also grow microgreens in any corner of the house, from the living room to the kitchen window. You can also put it where light does not reach, but you need to use grow lights. If you use grow lights, you must keep them on for 12 hours and off for 12 hours.


Pot/Tray/Container box
Select low-height and long-width home container boxes, plant pots, or seed germination trays to cultivate microgreens. Microgreens pots can be used for those who want to cultivate microgreens for a long time or commercially.
Seeds Quality
Mature seeds have a higher germination success rate. You should choose high-quality whole seeds and avoid collecting old seeds.
Make sure to gather newly packaged seeds as seedlings sprout from mature seeds.
Water
When sowing the seeds of microgreens, you need to moisten them with water. After the seeds germinate, you can water them once a day until harvest time.
Be careful not to let too much water accumulate in the seedbed, as this can cause the seedlings’ leaves to turn yellow and their roots to rot.
Growing light
You will need light to produce seedlings. You need more results if you need more to grow plants indoors. Microgreens require a lot of light. You can use grow lights.
Whether growing microgreens in backyard beds or a greenhouse, you must choose a location with enough light. You cannot grow microgreens without sunlight or artificial light.
Without light, the seedlings will lose their perfect shape, and the branches will look laggy and thin.


Sprouts Vs Microgreens
Many may think that sprouts and microgreens are the same. They are not; they can be called different periods or stages of grazing. Sprouts refer to the moment the roots emerge from the seed. Microgreens, including baby leaves, are available in concentrated form as nutrients within 7-21 days from seed to seedling germination.

How do you eat microgreens?
Eating microgreens will significantly improve your health. You can directly add them to salads, omelettes, and other savoury dishes. You can sprinkle microgreens over the noodles. Microgreens can also be included in breakfast and snacks.
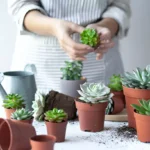
Ways to grow microgreens
I will give you an idea of how I prepare microgreens at home. I don’t have small-sized container boxes at home, so I have taken transparent ones so that I can see the germination of seedlings from the outside. I used a potting medium to grow microgreens. First, I filled the container box with potting medium.
Remember to drill adequate drainage holes in the bottom of your container box. After that, I will sprinkle the seeds collected from the store in each 300-400 seed container so that there are not too many seeds somewhere, and I will try to sprinkle them evenly. I will add a light layer of potting medium on top of the seeds but allow them to see through them. Then, I water with a sprayer just enough to wet the entire medium. Now close the lid and keep it near the kitchen window. I will water it once a day through a water sprayer. Seedlings from seed will begin germinating within 3-5 days and be ready for harvesting in 7-14 days. I did not cut them with scissors when harvesting. By cutting with scissors, they can be neatly cut from the root. We will cut as much as possible from the lower part of the sapling. Once the microgreens are harvested, you can add them to your recipe. All in all, microgreens are so popular with everyone because of their availability. Have you ever grown microgreens? If you do, then share your experience.
Watch this video for more easy understanding